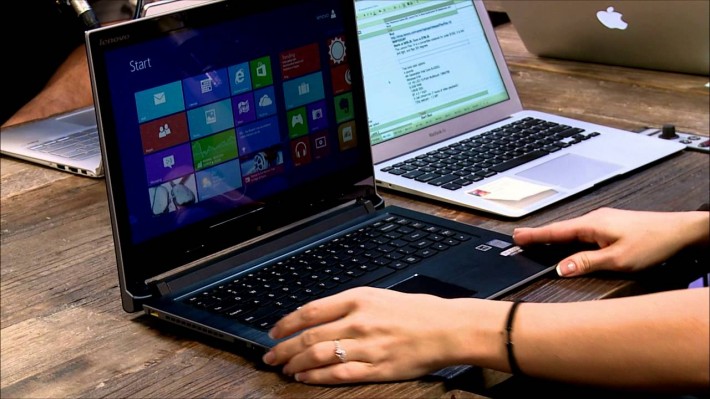
Whether you’ve got a breadcrumb stuck in your laptop keyboard, or you want to upgrade your device, one cannot hope to disassemble and assemble an IdeaPad just like that, clueless. Whatever brand of an IdeaPad you own, the disassembly will ultimately boil down to the same thing, whether it’s the Miix, Yoga, Flex, S, Y, U or Z series. Although the models and series vary in some terms, the idea behind the parts is generally the same and falls under the “IdeaPad” brand name.

- Remove the keyboard – This is definitely where you should start. Luckily, you won’t need any complicated technical paraphernalia – only a simple plastic tool, such as the official pry bar, but do not refrain from using everyday items, such as guitar picks, or even thick ends of plastic forks, knives or spoons. Make sure, though, that you refrain from using metal, seeing as how this material can cause unwanted and, above all, unnecessary damage to your device. Underneath the keyboard, however, there will be a couple of screws that need to be unscrewed and a cable that needs to be disconnected from the motherboard.
- Remove the back panel – Once you’re done removing the keyboard, move on to the bottom panel, held by a number of screws. Be careful, however, you will need to remove the front panel of the optical drive and do some bolt unscrewing there too, before moving on. This is the most fragile outside part of any IdeaPad, so be careful not to break it.
- Upgrading the hard drive – Laptops are and have always been quite limited in terms of replacing parts – the space in a laptop is quite limited for the sake of portability, and IdeaPads are no exception. However, if you want to replace the 2.5-inch HDD with another HDD or SSD of same dimensions, you’ll find that most models are quite compatible. Remove the screws that are securing the hard drive, place a new one and screw it back on.
- Upgrading the RAM – Although most IdeaPad models come equipped with a 4GB of RAM memory, it is 8 that’s the limit in terms of gigabytes, when it comes to IdeaPads. If you aren’t the proud owner of an IdeaPad model with 8 gigs of RAM, you can replace the 4GB one with a new one. Keep in mind, though, that most IdeaPad models only come with one RAM slot, so 8 gigabytes is the limit! Make sure you stick with Lenovo spare parts in case you are upgrading, just to be safe.
- Removing the battery and Wi-Fi – In addition to the mentioned parts, you can switch the 24Wh battery, as well as the Wi-Fi module if you so desire. Both the batter,y as well as the Wi-Fi module are quite easy to remove, so you should experience no trouble here. Do not upgrade the battery, however, unless the previous one ends up broken or past its designated life – if you’re unsure about either of the cases, refer to a professional, or use your warranty guide.


Leave a Reply